Beautiful! Photo by S. Van Slooten
I’ve been away for a while, but have a whole new approach to my blogs for you. I have decided to do some recipes with step by step photos. This first one will be an easy one, Baking Powder Biscuits, but the results will be fabulous. Everyone loves a hot biscuit, slathered with butter. My mouth is watering just thinking about this. In this new approach, you will be able to see (almost) each step, starting with the ingredients, the mixing, cutting, and baking. Also, I feel this is a more personal approach, because you will walk with me through the entire process. You will get everything but the heat of the oven and the smell of baking biscuits.
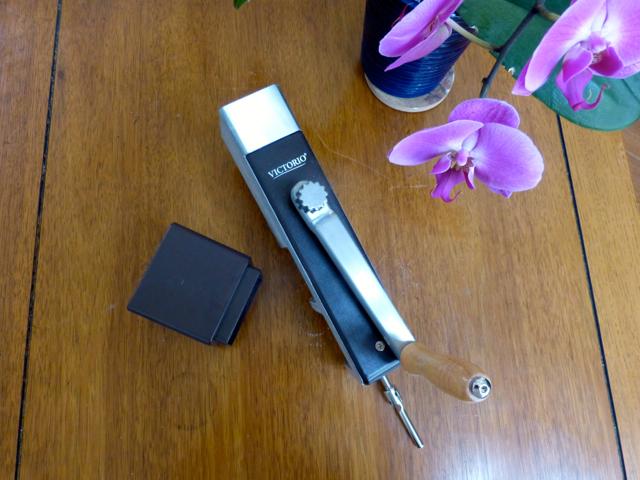
Let us begin with the equipment and ingredients:

The tools of the trade. Photo by S. Van Slooten

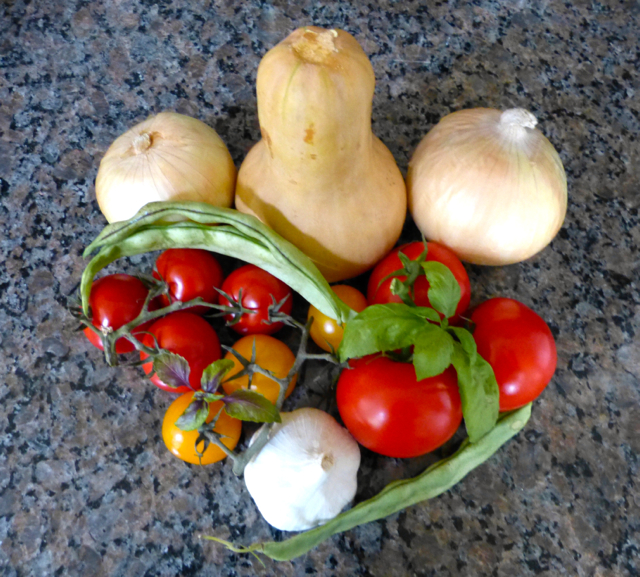
The ingredients. Photo by S. Van Slooten
Ingredients:
1 1/2 cups unbleached white flour
1/2 cup whole wheat flour
1 tbl. Cornstarch
2 tsp. baking powder
1/2 tsp. salt
1/2 tsp. baking soda
1/4 cup butter, chilled & cubed
1 cup buttermilk
Method:
Preheat oven to 400 degrees. Meanwhile, in a large mixing bowl, place the flours, cornstarch, baking powder and soda, and salt. Stir. Cut in the butter with a pastry blender until there are no large pieces.
Add the buttermilk, stirring with a fork to make a dough.

Preparing to cut in the butter. Photo by S. Van Slooten

It should look like this, some larger pieces are good. Photo by S. Van Slooten.
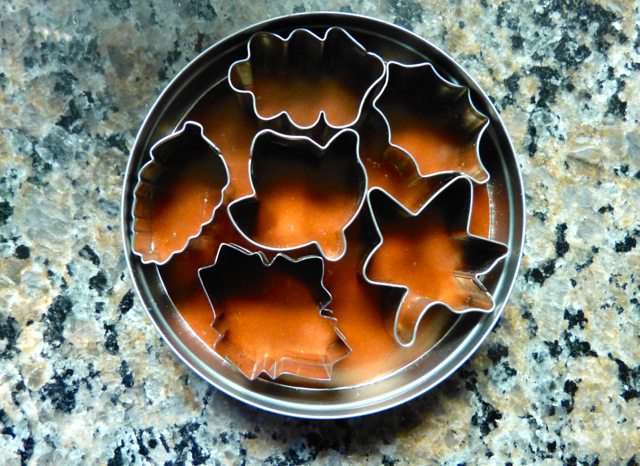
If the dough is too stiff or dry, you may add some more buttermilk. Once dough has come together, turn out on a floured board and knead briefly. Pat dough into a square or round (depending if you want square or round biscuits) about 2 inches thick. Cut into squares about 2 inches square, or use a round cookie cutter or biscuit cutter. I use a pizza cutter for the square ones, goes very quickly and easily.

All rolled and cut, ready for the baking sheet. Photo by S. Van Slooten
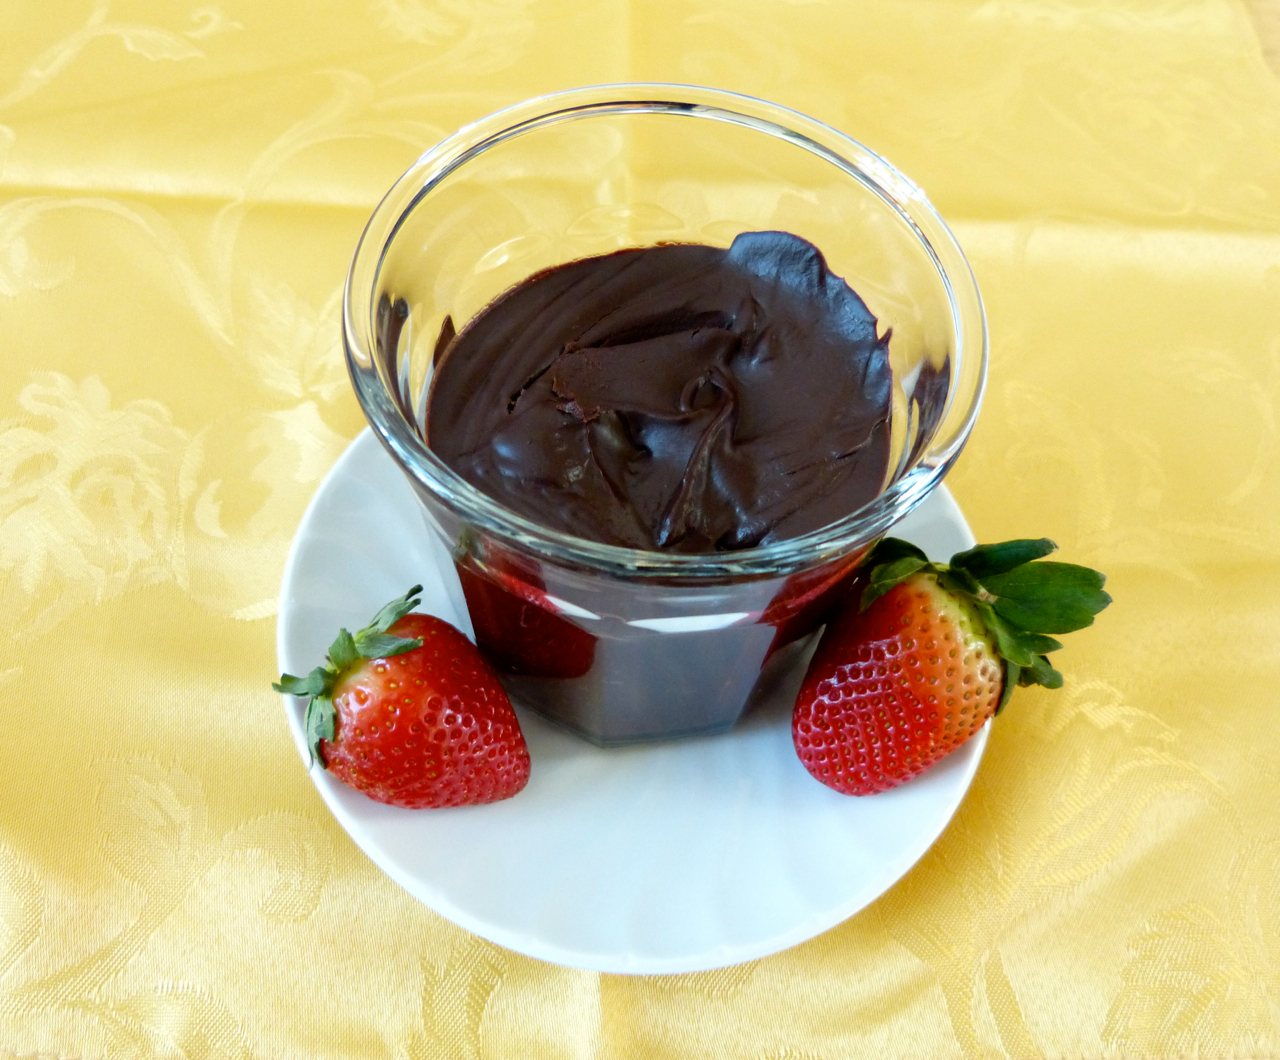
Place biscuits on a greased or parchment lined baking sheet, about 2 inches apart. Bake until they are golden brown on top, about 15 minutes. Keep an eye on them, you do not want them over baked. When done, cool on a wire rack, or for immediate consumption, slather with butter, enjoy. Biscuits do not keep well in my opinion and are best eaten fresh, still hot from the oven. For shortcake, do cool them, split, add strawberries and cream, voila, you have dessert.